After Effects
Overview
There are currently 3 easing panel categories: Influence, Speed, and Library.
You can navigate to each of these by clicking the category icon on the left-hand side. If your screen has enough space, you can cmd+click (ctrl+click on Windows) the categories to show multiple at the same time (shown below). If your extension window is wide enough, these panels may also flow next to each other.

You can also cmd+click the last active category icon to hide all of the panels. This is useful to maximize the space for the graph view. You can re-show the panels by clicking the hoverable bar that took their place.
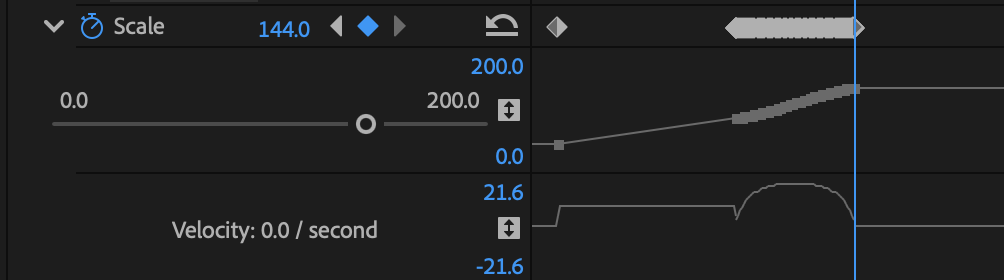
Influence Sliders 
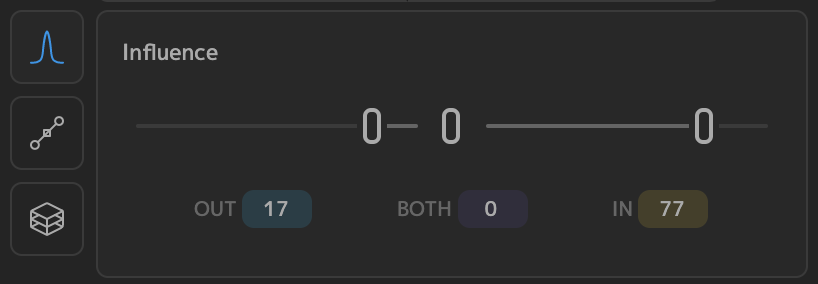
The influence slider is the same one you're used to from the Home Screen.
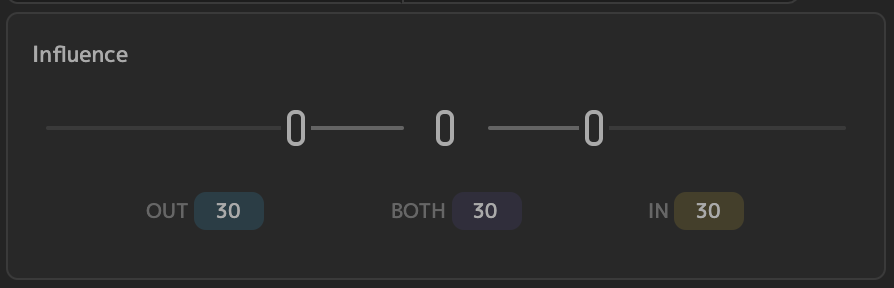
- Adjusting the left and right 'pills', adjust the influence out of, and in to the selected keyframe(s).
- Clicking the middle 'pill' will apply the current influence values
- Clicking and dragging the middle pill will adjust both influence sliders simultaneously
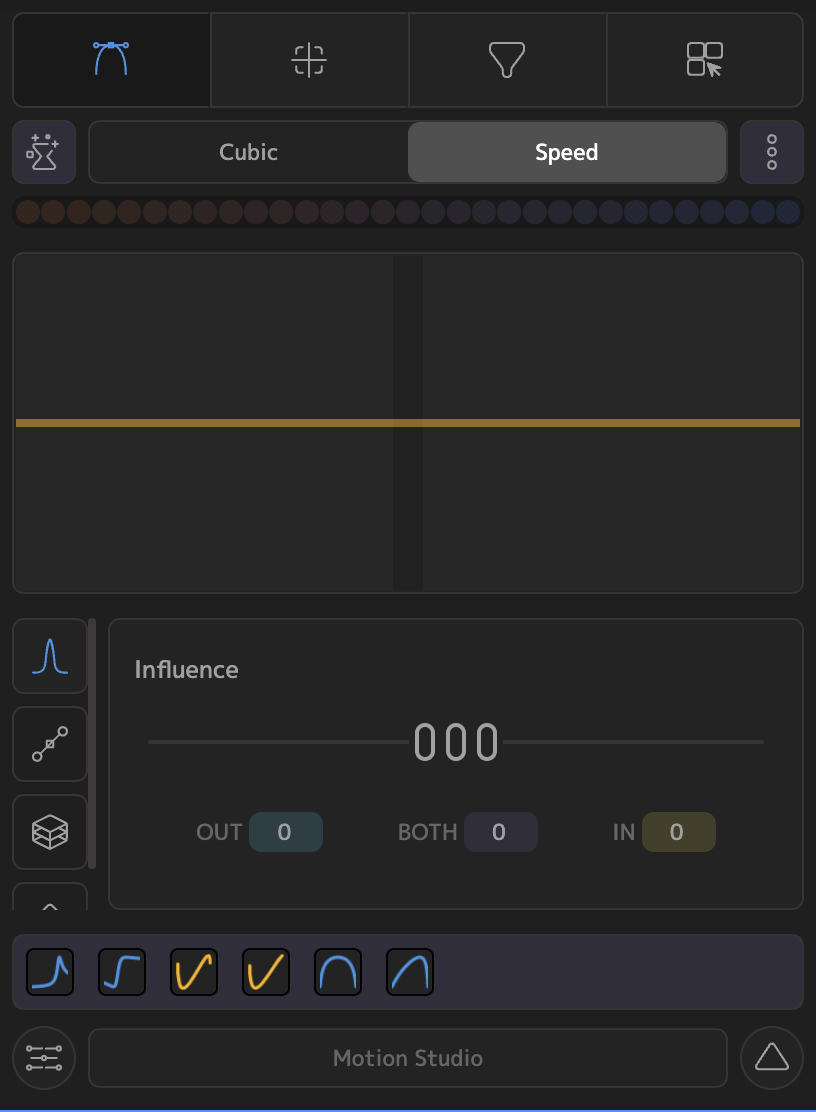
Speed Sliders 
The speed slider is a new design catered specifically for adjusting speed values of keyframes. Some animators prefer to adjust influence only, and some use speed as well.
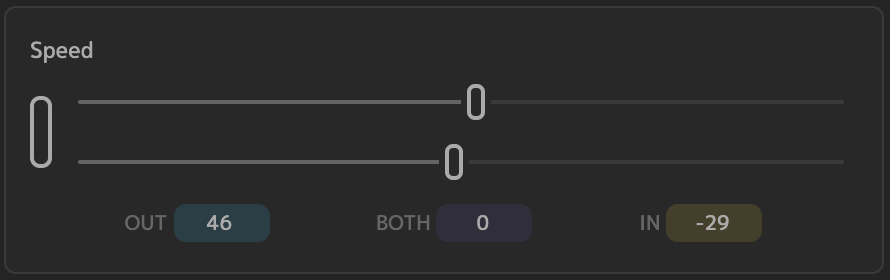
It works similarly to the influence slider, as there is one slider for 'speed in' and one for 'speed out'. We chose to make these sliders full width, since - unlike influence - these values are not capped from 0 to 100. They can be much larger or smaller, so more slider space was necessary. The large pill on the left works the same as influence. Clicking it once will apply the Speed values to selected keys, and clicking and dragging will adjust both Speed sliders simultaneously.
The Speed sliders also contain a few convenience functions. Namely, Reset, and Max.
- Reset will reset the values of speed-in and speed-out to 0. This is convenient, since the 0 value can sometimes be in the middle of the slider track and hard to target by dragging.
- Max will set the maximum (and minimum) value that the slider range can cover. Clicking this button will cycle through the values [500,. 1000, 2000, 5000]. If you're working with smaller speed values, using 500 will make the sliders easier to work with, as it eliminates much of the possible range of values.
Digit Inputs
There are also other ways to adjust the values of speed an influence. First, clicking inside any of the IN, OUT, or BOTH text-boxes will allow you to type a number.
Clicking on any of the IN, OUT, or BOTH text-fields (next to the input boxes) will open up a 'Digit Input' panel.

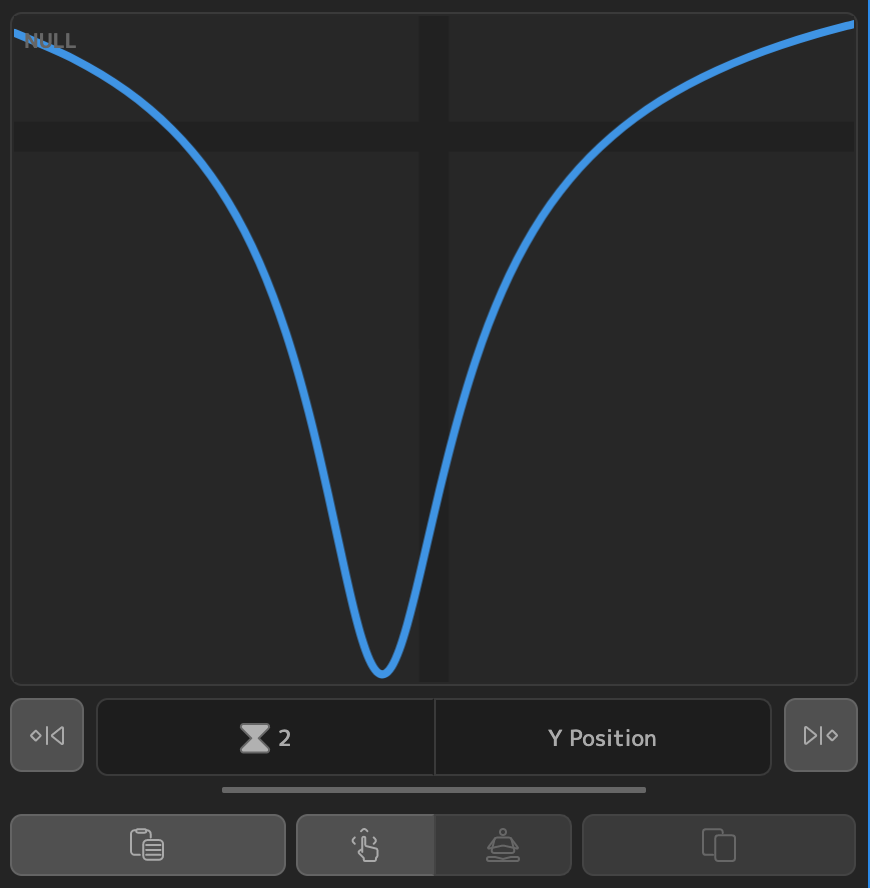
This panel also has a slider, but further allows for fine-grained incrementing and decrementing of specific values. These values immediately reflect in the graph view and preview, allowing you to get instant feedback on how discrete changes to influence or speed affect the easing curve.
Easing Library 
The third panel allows you to view any one of your Easing Libraries on this page.
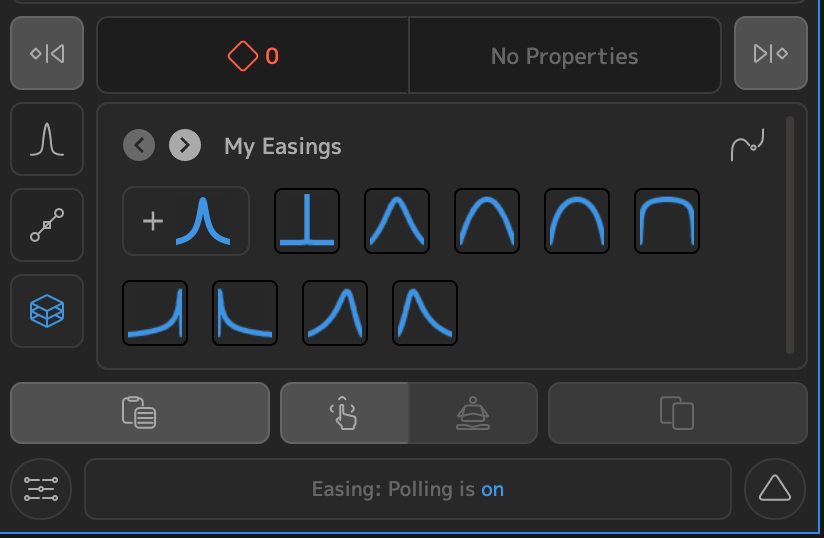
Here, there are multiple options at your fingertips:
- Cycle through each of the libraries using the arrow icons next to the library title
- Hover your mouse over any of the easing presets for a tooltip displaying its name
- Click on any of the presets to immediately apply to selected keyframes
- Click the
 button to add the current easing to the library
 - Click the Library icon
 to open up the Easing Library overlay, where you can manage your easing libraries.
Note that with the introduction of the Value Graph, we have introduced a new type of easing preset:
The Cubic Bezier Preset
Traditionally, your easing presets were blue, and showed an image of the speed graph for the values associated with that preset. Cubic Bezier Presets are yellow, and show a cubic bezier curve representing the values associated with the preset. When you're on the Library Panel on the Easing Page, and are using the Value Graph, or Cubic Graph, the button to add an easing to your library will automatically update:
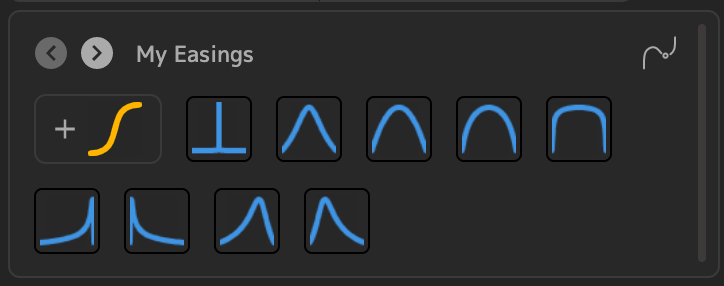
You can add these presets so that you have mixed presets in your libraries now:
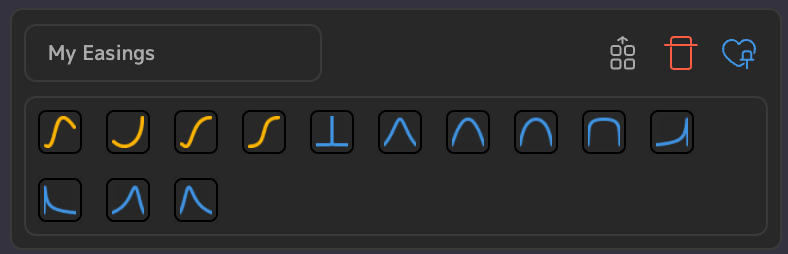
Hovering over any one of these presets will show the name of the preset, which corresponds to the cubic bezier values of the curve (x1, y1, x2, y2). If these are confusing to you, you can always change the name of individual presets on the Easing Library overlay.
Premiere Pro
Easing in Premiere Pro is a little different than what we have implemented for After Effects. Limitations of Premiere's API force us to interpolate ease curves using a large number of additional keyframes, rather than just adjusting the speed and influence of two keyframes.
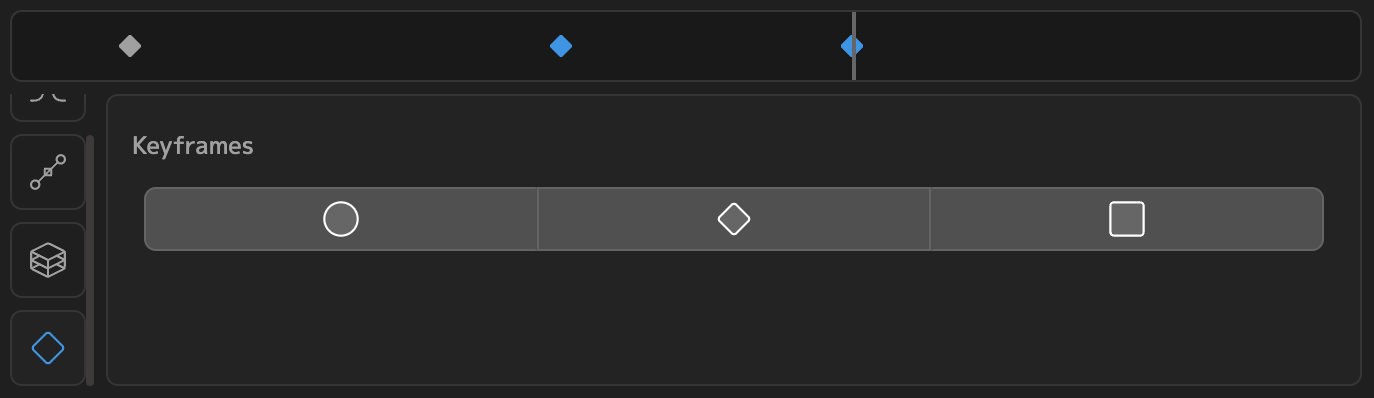
- First, select a TrackItem that has two or more keyframes on one or more of its properties.
- The available properties to apply easings to will appear at the top of your Easing panel. You can only apply easings to one of these properties at a time.
- The keyframes that are on the selected property will also appear in your panel. By default, none of the keys are selected. This means that any easing in the panel will apply to all of the keyframes on that property.
- To apply easing to a subset of the total number of keys, click and drag the marquee selector in the Keyframe Timeline to select the keys you wish to ease
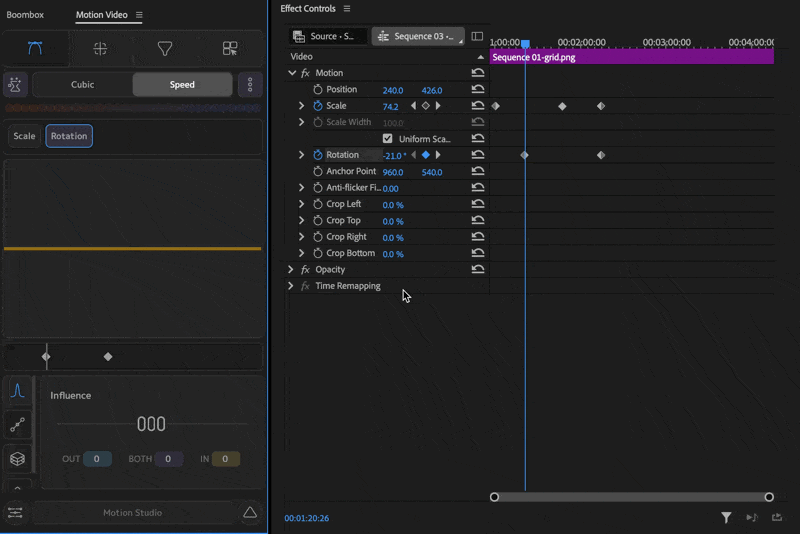
- Once selected, you can apply easing in a few different ways
- Drag the Speed graph to adjust the speed curve
- Adjust the Cubic Bezier graph handles in the Cubic display
- Paste cubic bezier values in the Cubic display
- Drag the influence or speed sliders
- Apply an easing preset from an existing easing library
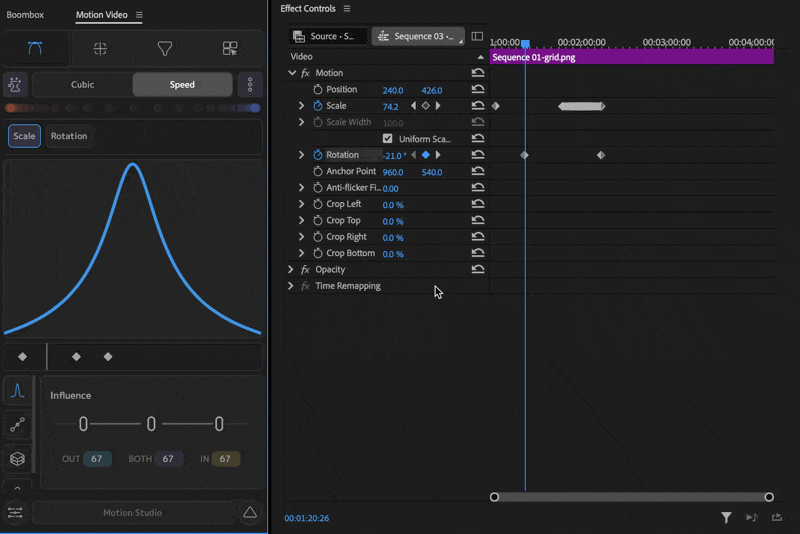
Once applied, you'll notice the interpolated keyframes added by Motion Studio:
In the panel, we don't show these additional keys, to keep things nice and clean:

To remove any keys added by Motion Studio, you can click the "Clean Keys" icon in the top-left corner

You can also apply Auto-Bezier, Linear, and Hold keyframe interpolation from the panel: